Riddle me this – What can make you hungry, even though you just ate? What can break your spirit to stick to your diet, and have you eat when hours are late? What prevents you from saving money, and has you rushing to store like fish to bait? It does all these horrible things to man, and yet it remains untouched by our hate.
The answer is simple – food photography.
You do not need to be a professional chef or professional photographer for that matter, to create impressive images of food. That being said, it is still a challenging task, and it will require effort on both fronts. Here we will focus on the photography aspect of the process and share some tips on how to make perfect food pictures.
Shooting From The Right Angle
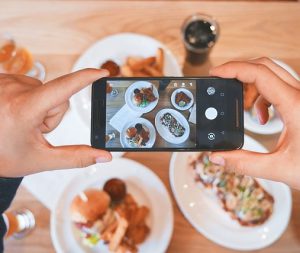
 If you think about, food photography is shot from only a few angles. This is because people intend to capture the best qualities of the meal they prepared, and ensure that ingredients are visible. In other words, the food pictures are taken either at an oblique angle or from bird’s eye view. There are a few instances though when the focus is in front of the food, like wedding cakes, because the goal is to highlight the decorations rather than the content inside the cake.
Work On The Background
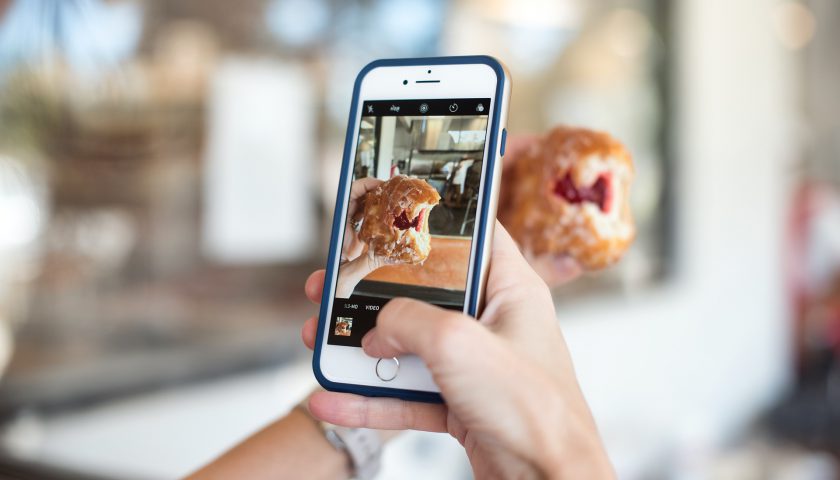
The background of the picture does not need to be empty, as you can use the opportunity to share more about the origin of the meal. Chances are you have probably noticed how food in the picture tends to be in front of jars, tins, fabric, herbs, glasses with milk or any other items commonly found in the kitchen. Of course, the focus is always on the food, and the ingredients or items in the background tend to be blurry.
Composition
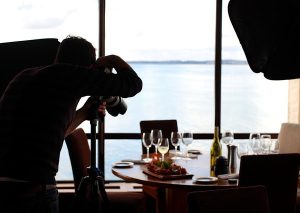
 Lighting is another crucial aspect of the image, mainly because you will modify your image with different filters and photo editing tools. If your original image looks good, the end product will be great, whereas a poor quality photo doesn’t give you much to work with. When working with direct sunlight, you should put a diffuser between a window and a table to mitigate the intensity of shadows and highlights. Then you should use white and black cards. White to direct light and brighten the area with food, and dark to intensify the shadows and create better contrast in the image.
When it comes to contrast make sure you use different props that are colorful but be mindful of their placement in the image, so as not to upstage the star of the photo shoot, A.K.A food. In other words, the food needs to pop up against the selected props. You can easily achieve this by opting for a neutral color tray (black for bright color food or white for dark color food) and place your food on it.

